

 In the previous post we have an overview of mirthSync and indicated that it can be used for many purposes beyond just simple pulling and pushing of Mirth Connect channels and configuration. In this post we will demonstrate how mirthSync can be integrated with Git and Git’s features can be used to track changes to view, review, and if necessary roll back changes to code and configuration.
At Saga IT utilizing mirthSync is a vital part of our workflow. It enables us to track and visualize changes to our environments over time which gives us extra confidence to make even significant changes and enhancements without risk.
Git
Git is arguably the most widely used software for tracking changes and managing changes in files and directories. Other version control systems exist and can be used with mirthSync in a similar fashion. This post will show how to install Git (if not already present) on Windows and use Git and mirthSync commands to manage changes to a Mirth Connect instance. This can also be done within non-Windows environments by using your system’s Git tools available via the Git site or your package management system.
Installation
Downloads for Git can be found at https://git-scm.com/downloads. If you already have Git installed you should skip to the next section.
Download and run the most recent version of Git for windows
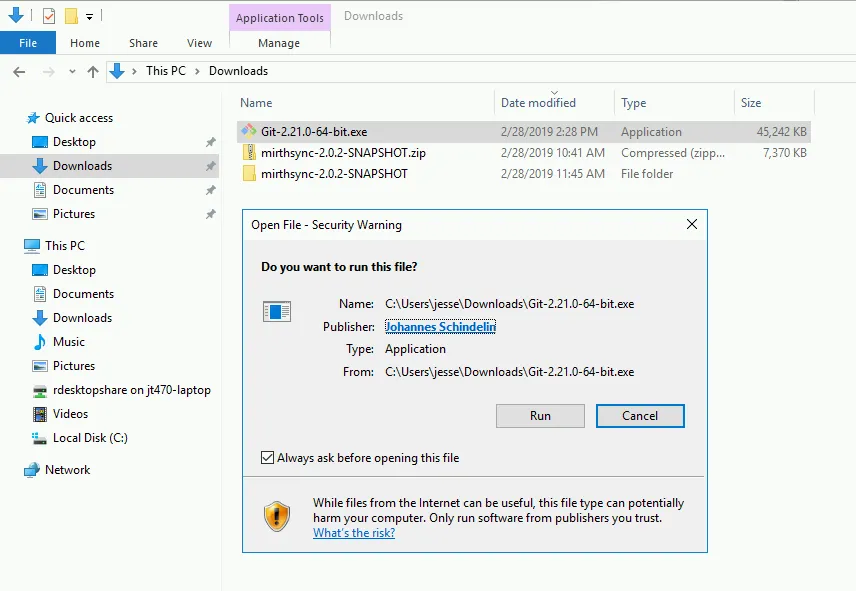
Click “Run” if prompted
Step through all of the default install options and make any changes if desired. I typically stick with the defaults. One setting that you may be interested in changing is the step that involves setting the default editor. Vim is used out of the box but is an editor that is unfamiliar to many people. If you wish - you can change this to various different editors that may be available on your system. Notepad++ is a good choice for Windows.
If you have any questions about the other settings during installation there are more elaborate tutorials that can be found elsewhere but for most purposes the default options should be fine. One option that I would recommend that you don’t change unless you know exactly what you’re doing is the PATH setting.
Wait for the installation to complete and then close the install dialog.
Your ‘Initial Commit’
Navigate using explorer to the directory that you used as the target for your previous mirthSync pull. If you don’t know what it means to pull or don’t have a mirthSync install and pull directory, please refer to and follow the directions in the previous post.
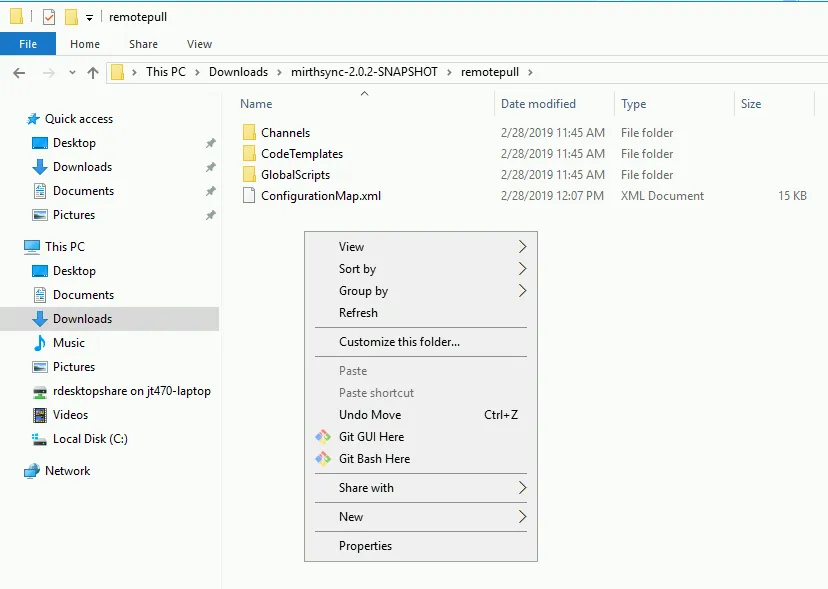
Right click within the pull directory and select ‘Git GUI Here’
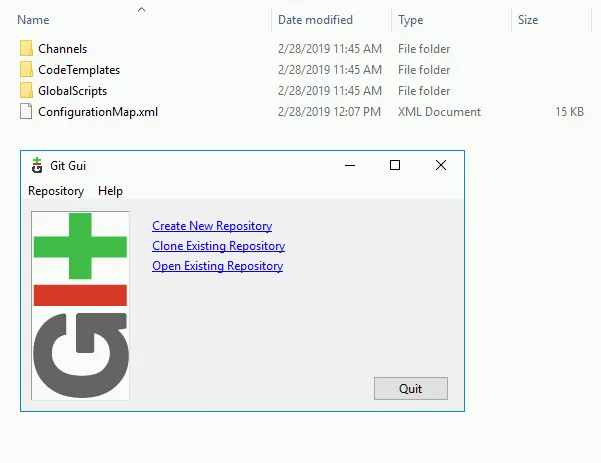
Select ‘Create New Repository’ in the dialog that appears
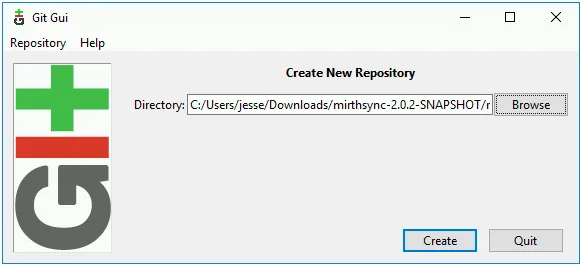
Click ‘Browse’ and select the pull directory. In my case it is located at C:\Users\jesse\Downloads\mirthsync-2.0.2-SNAPSHOT\remotepull.
Select ‘Create’ when prompted
You should now see something similar to the following image. Your details may be slightly different depending on your Mirth Connect channels and configuration.
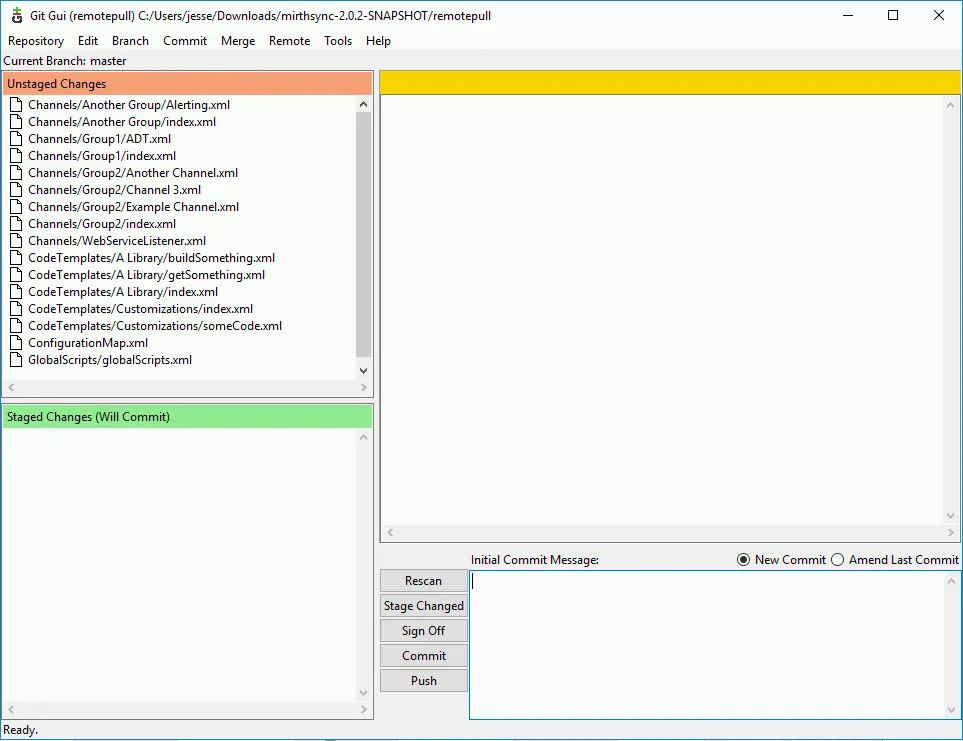
This is a view of all of your unstaged files. ‘unstaged’ is a Git term for files that Git is either not tracking or files that have changed and haven’t been ‘staged’ for committing. ‘Commit’ is language that is used to refer to a specific set of changes to files. In our case, the goal currently is to stage and then commit our initial batch of files. We’ll call this our ‘Initial Commit’. Whenever changes are committed to a git repository there should be language that indicates something about the changes. In our case it’s the first time we’re committing our files so ‘Initial Commit’ makes sense.
Go ahead and type ‘Initial Commit’ in the bottom right pane. Now, click the “Stage changed” button. Since there are no previous commits and we have new files git will ask if you would like to stage the ‘untracked’ files. Select Yes.

You’ll see that your files now are in the ‘Staged Changes’ area. This means that you’re ready to commit the new files to Git’s history of the current repository.
Go ahead and click ‘Commit’
You may get the following error if you’ve never used Git in this environment before
 If so, click ‘Ok’ then click ‘Edit’ → ‘Options’ in the menu. Put your name and email address in the top-right corner of the the dialog that appears and click ‘Save’.
 Now go ahead and click the ‘Commit’ button again.
Done! You’ve made your initial commit and the repository is clean (meaning it has no changes or new files since the last commit).
Viewing the repository history
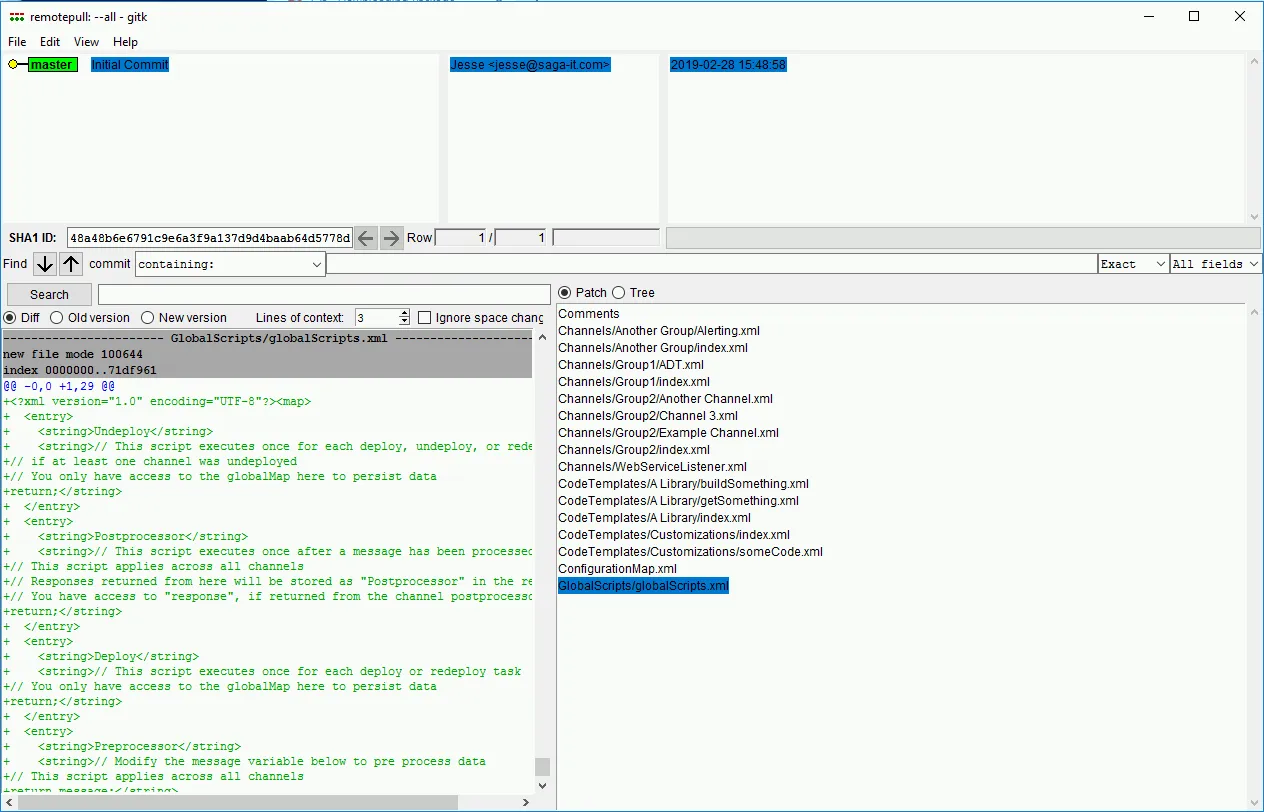
At this point, if you’re curious you can view the history of your commits and see what was done. You can do this by selecting ‘Repository’ in the menu and clicking ‘Visualize all branch history’. This will open a dialog that allows you to view details and metadata about your commit. As you add commits to the repository this can be a handy tool for inspecting the changes. Go ahead and close this dialog when you’re finished but leave Git GUI running.
Working with changes
Now that we have our initial commit we’ll walk through the process of handling changes. To begin with, we’ll go ahead and create a new group and new channel. We’ll see how the new files are picked up and how to commit the new changes. Then we’ll make edits to the new channel code and configuration and see how to manage and view edits.
Go ahead and create a new Group and then add a new Channel to the group. The names and channel type don’t matter for our purposes. The goal is to see how it’s handled with mirthSync and Git. In my case, I created a new group called ‘New Testing Group’ and a new javascript writer Channel within that group called ‘New Testing Channel’.
Save your channel and group changes. Next, on your mirthSync machine, navigate to your repository location using powershell, a command prompt, or the ‘git shell’. Next run the mirthsync.bat command. For me, I was in the target repository directory already so the target is ’.’ (the current directory). A full path could be used. Also, note that I used the full bath to the mirthsync.bat file. This is necessary if you’re not in the same directory as the mirthsync install or if mirthsync.bat isn’t in your PATH.
The following command tells mirthSync to pull from the Mirth Connect instance at 192.168.22.58. The -t parameter pulls everything into the current directory and the -f parameter tells mirthsync that it’s OK to overwrite any existing files.
c:\Users\jesse\Downloads\mirthsync-2.0.2-SNAPSHOT\mirthsync.bat -u admin -p admin -s https://192.168.122.58:8443/api -t . pull -f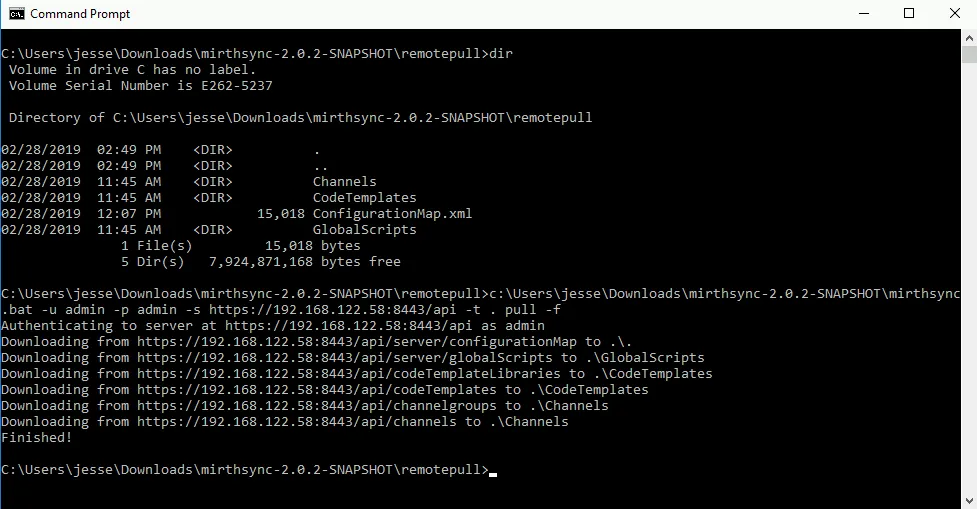
Great! We have the latest code pulled down from our Mirth instance. Let’s take a look at Git and refresh its view of our repository.
Within Git GUI which you should have open from our previous steps - Click the ‘Rescan’ button
After the rescan you should see something similar to the following
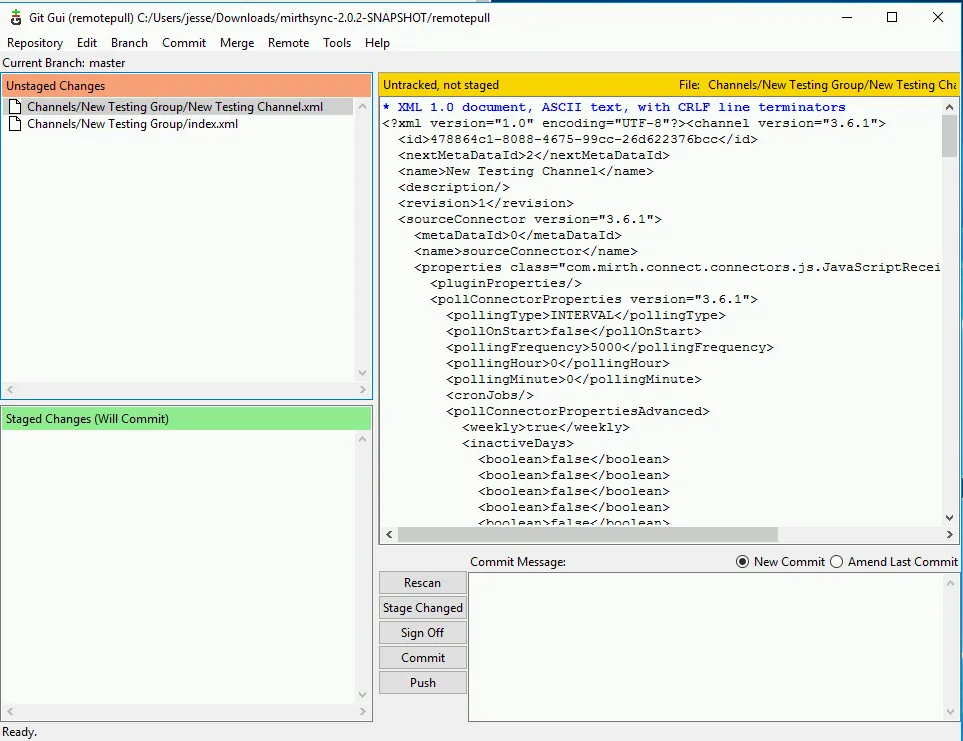
As you can see - the new group and channel are showing up as unstaged. Using the same steps outlined above about staging and committing - go ahead and stage these changes, put a useful comment in the comment pane (I’ll use ‘Created new group and channel’).
Utilizing the branch history feature you can see the new commit and its details in addition to the previous commit. Notice that only changes are staged and committed. Git is efficient about only committing actual changes and doesn’t save or show code that is identical to the previous commit.
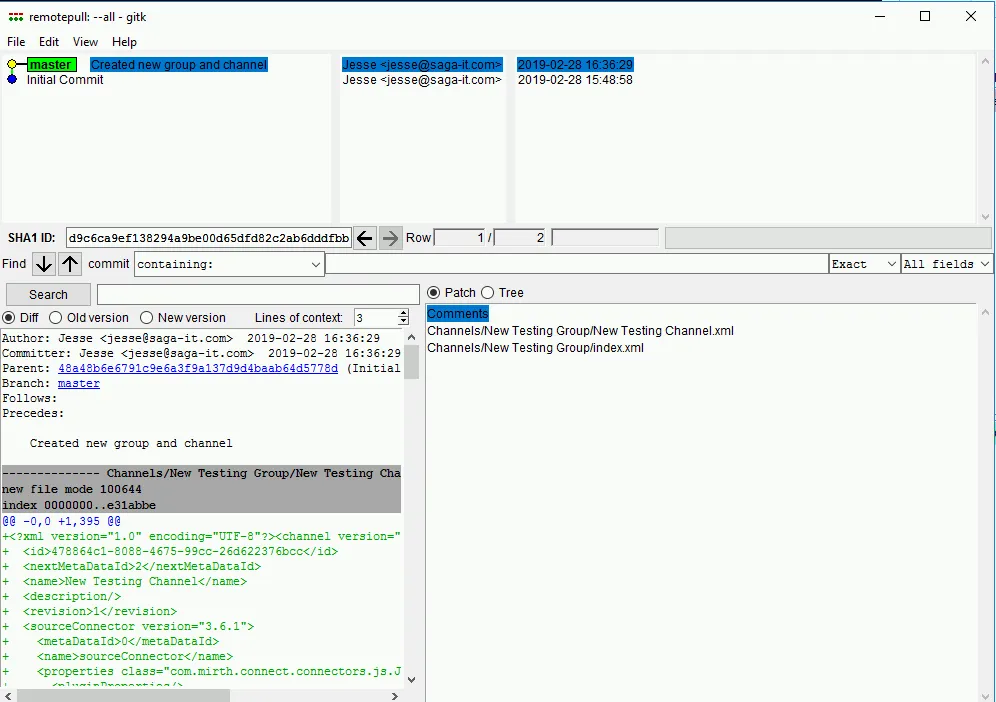
Close this window but leave Git GUI running for our next step
Go ahead and make a minor change to your new channel. It doesn’t matter what you change - the config or code, destinations, transformers, etc. I’ll change one property and alter my code a bit. Once you’ve made your changes do another mirthsync pull, rescan your repository in Git GUI and view the changes.
In my case you can see that I’ve updated the Channel description and have modified the Javascript reader javascript a little. The red and green highlighting indicate the changes from the previous version to the new version.

Go ahead and stage and commit your changes with an appropriate comment.
Finished! We’ve only scratched the surface of the mirthSync and Git combination in this post. Hopefully you can see the potential. We’ll be following up with more posts about mirthSync, Mirth Connect, HL7, and Healthcare IT in the future.
Once your channels are under version control, you can inspect the HL7 messages they produce with the free online HL7 parser in HL7 Workbench — parse, view, and validate HL7 v2 messages right in your browser.